Denix SMLE Customisation Guide
Here is a guide to make the already fantastic replica SMLE, even better with just a couple of hours work!
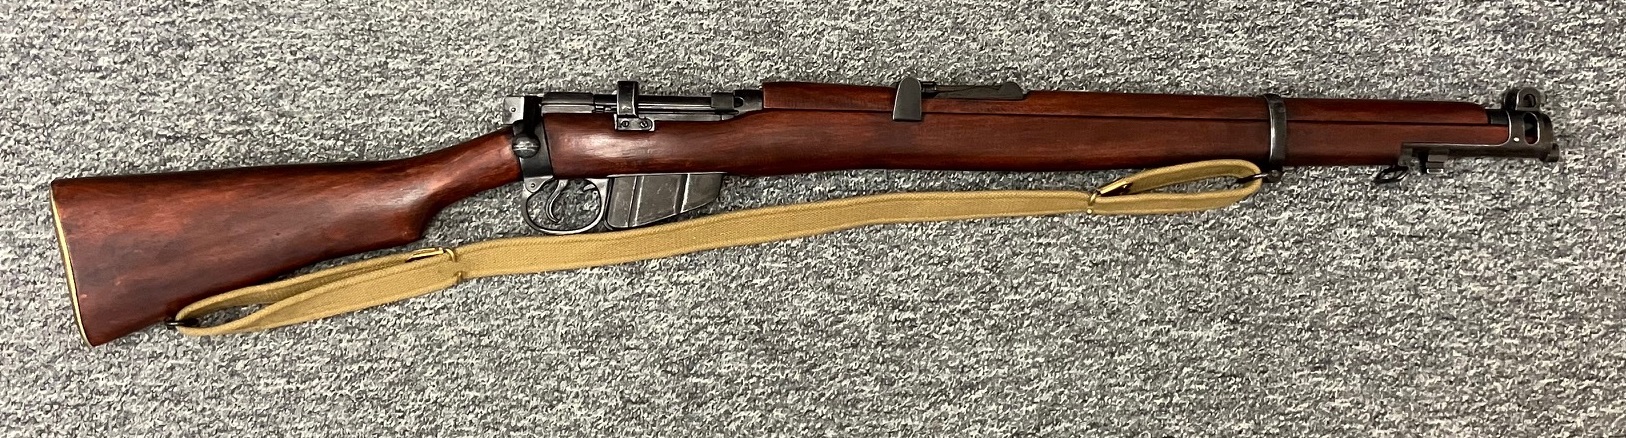
Before:
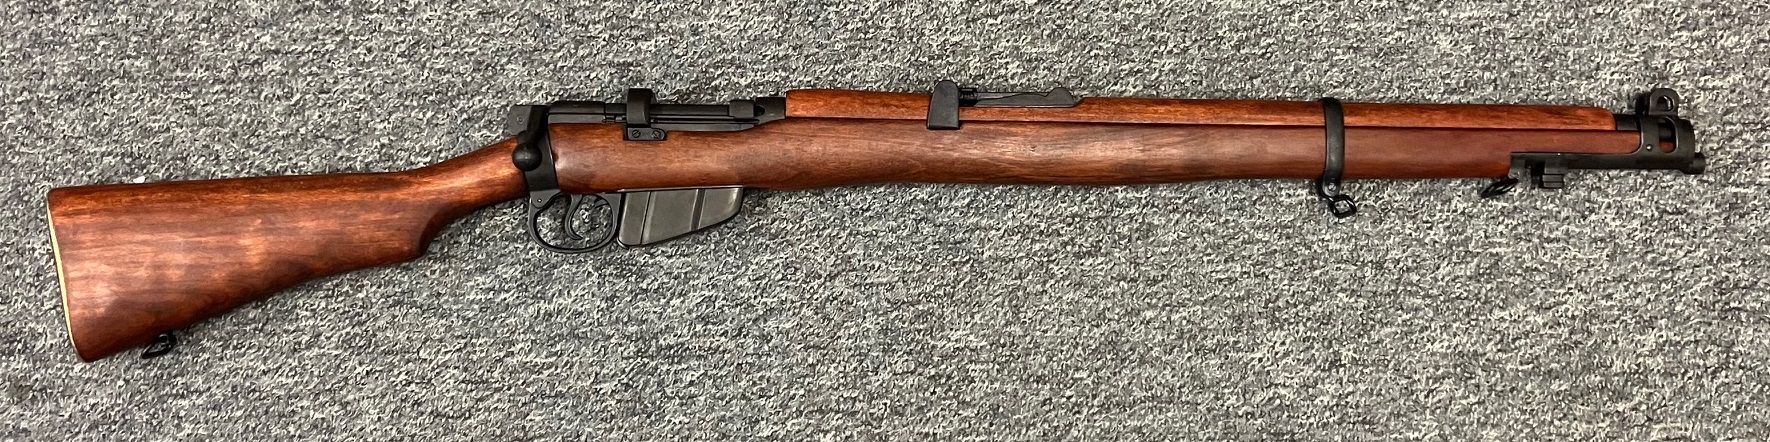
After:

Essential Items:
- Screwdriver
- Wire wool
- 500 grit sandpaper
- Black shoe polish
- Wood stain
- Paint brushes
Optional Items:
- Sling
Additional Accessories:
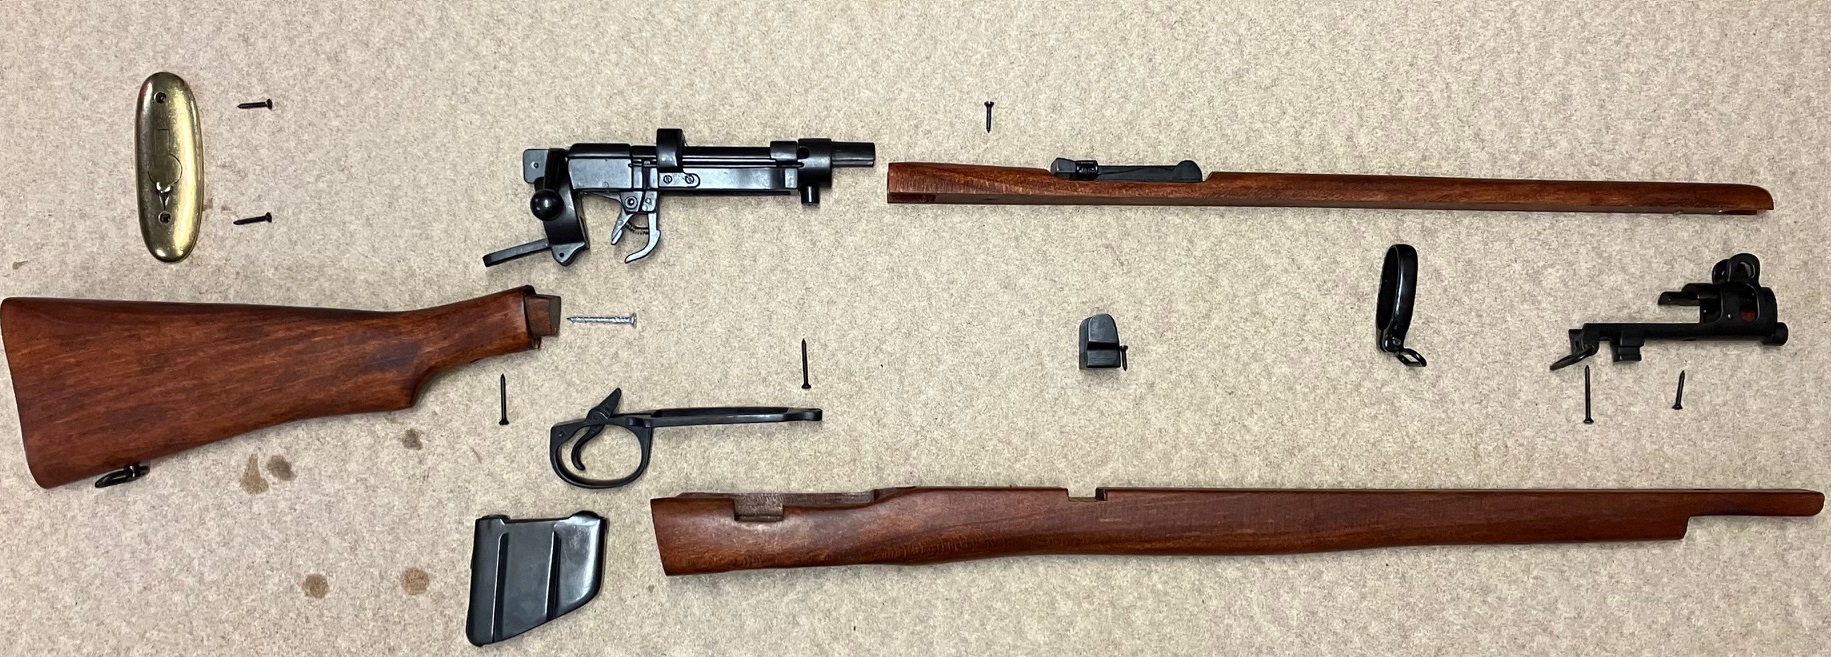
Step 1. Strip Down
Carefully remove the screws from the replica and ensure you don't damage the wood. Screws are located as shown.
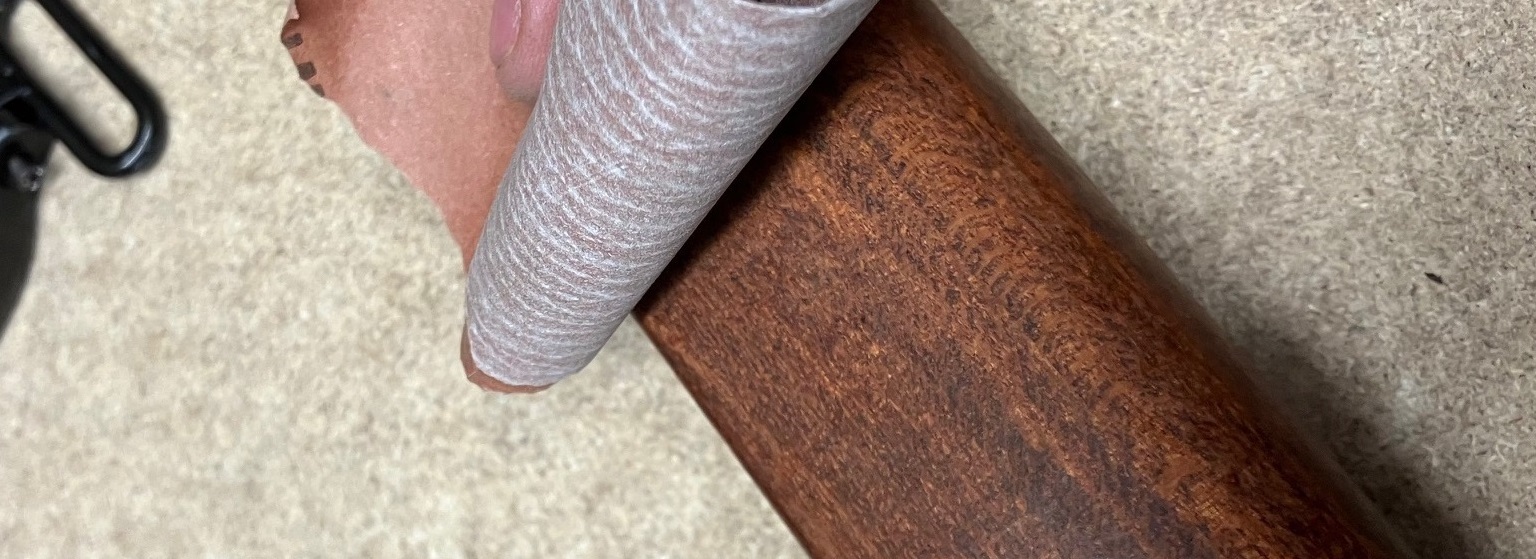
Step 2. Prepare the Wood
Before doing anything else, you will need to prepare the wood. Take some sandpaper (we used 500 grit) and give it a light rub down.
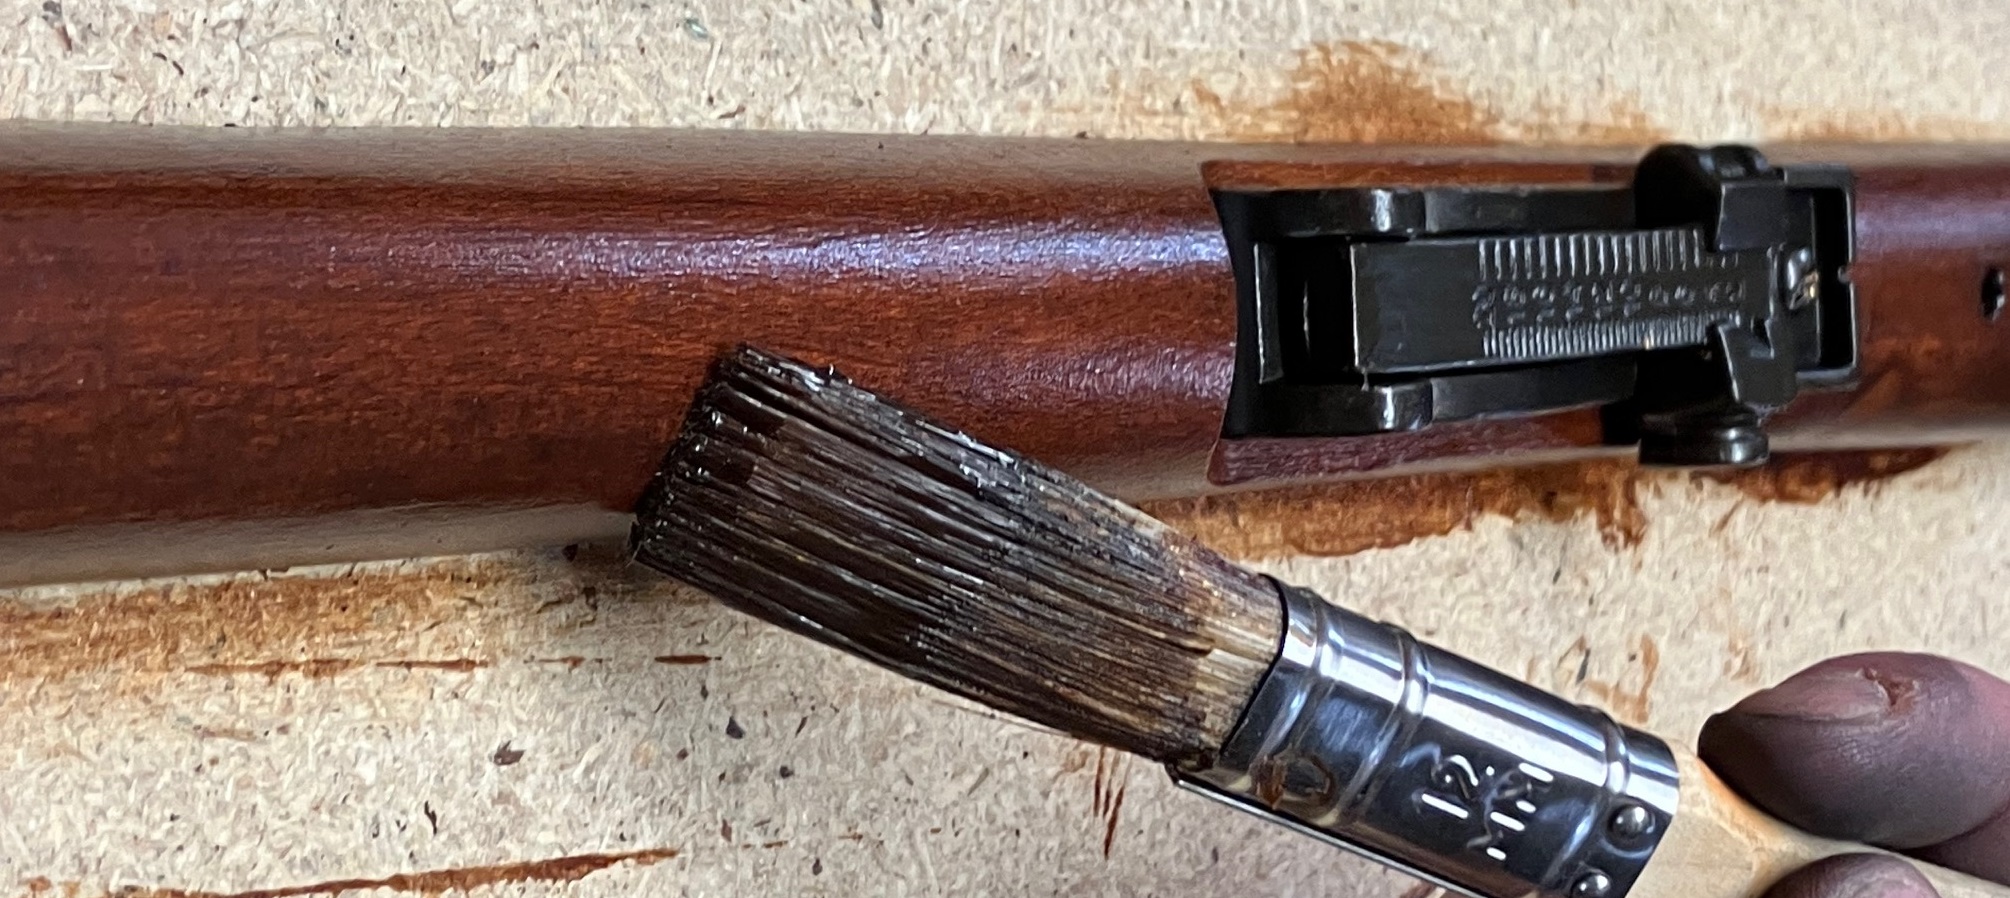
Step 3. Wooden Furniture
We used black shoe polish, and worked that into and over the wooden parts. We let that dry overnight. Use a wood stain (we used dark oak). Apply this carefully along the wood. Once you have applied this, let it dry.
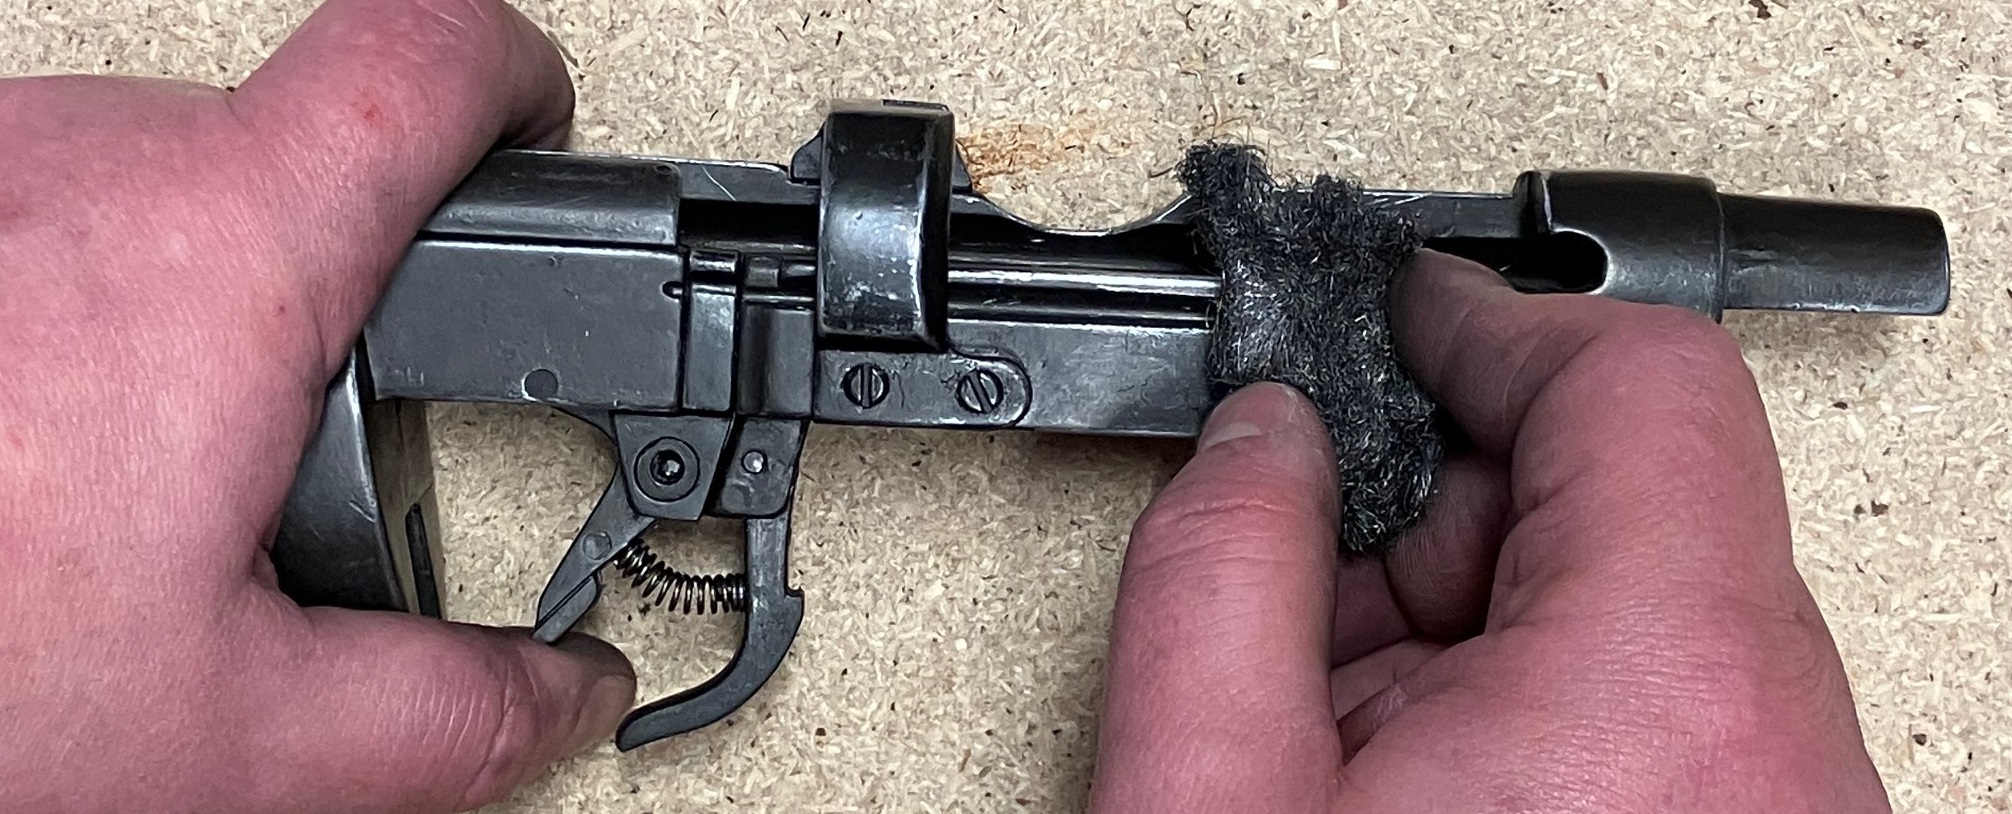
Step 4. Metalwork
You can do this section either by fitting the rifle back together, or doing this while the pieces are separated. Using a soft wire wool, run it gently over the edges of the metal parts. Then focus on areas that would see a lot of use. Around the trigger guard, the trigger itself, the slide for the cocking lever, the cocking handle etc.
The key is to not over do it! Remember, these rifles were issued new to soldiers back during WW2. Prior to combat, they would have been used on the firing ranges, or for bayonet drills. They aren’t meant to look 80 years old!
The Finished Product
We have also taken one of our slings and attached it to the rifle. Overall, we are pretty pleased with the final result! A few hours work, and some effort, and you can really improve the look!